LoopLoot Arena
3D voxel survivor — hold the arena, build a broken kit, reach the Liquidator.
How to play LoopLoot Arena
Arena is a 3D voxel survivor. You drop into the trenches, hordes come for you, and your job is to stay alive long enough to build a kit broken enough to clear the map — all the way to THE LIQUIDATOR.
You don't aim or click to attack. Your weapons fire on their own. Your job is positioning, dodging, and the choices you make every time you level up.
The controls
- WASD — move
- SPACE (×2) — jump / double-jump
- SHIFT — dash (dodges and damages — use it to escape and to smash props)
- F — interact (shrines, etc.)
- Mouse — look around
The core loop
- Survive & kill. Enemies drop glowing XP gems — run them over.
- Level up. Every level, pick from 3 cards: a new weapon, a Core (a stat that amplifies your weapons), or an upgrade to something you own.
- Commit to a build. You can carry 4 weapons and slot 5 Cores — once they're full you only upgrade, so the choices you make early define your run.
- Evolve. At weapon level 6, a gold ✦ EVOLVE card appears. Evolving transforms a weapon into its ultimate — not just bigger numbers, a whole new behavior. (Holder Aura → a black hole that pulls the horde in and collapses it. Liquidation → lightning that pinballs through the swarm. Etc.)
- Push to the boss. Find the Boss Portal, beat the stage boss, step through the exit portal to the next stage.
The run
A run is 3 stages — The Trenches → The Mist → The Inferno — each bigger, darker and meaner than the last. Every stage runs about 10 minutes:
- Elite events at 2:00 / 4:30 / 7:00 / 9:00 — a tanky mini-boss spawns. Hunt it down for a chest.
- Boss Portal at 10:00 — step in when you're ready to fight the stage boss.
- Beat the boss → exit portal → next stage.
Clear the Inferno and you face the apex boss, THE LIQUIDATOR (it even strips you to your two best weapons — earn them back by killing it). A full run is about 30 minutes.
Don't dawdle at the portal. Wait too long and a Final Swarm floods the arena to push you in.
First-run tips
- Keep moving. You're a survivor, not a tank. Circle the horde; let your weapons do the work.
- Don't grab everything. A focused build (4 weapons that scale off your 5 Cores) beats a random pile.
- Read the "scales with" tag on every weapon card — it tells you which Cores make that weapon hit harder. Build into it.
- Dash through danger, not away from it — the i-frames get you out, and it damages on the way through.
- New to it all? Open the in-game 📖 Field Guide (pause menu) — it explains every weapon, Core, item and map object.
Builds & strategy
Anyone can survive the first few minutes. Clearing a full run to the Liquidator takes a build — a kit where your weapons, Cores and items all pull in the same direction. Here's how the pieces fit.
The golden rule: Cores amplify weapons
Cores are stat archetypes you slot (up to 5). Every weapon card shows a "scales with" tag — the Cores that genuinely make that weapon hit harder. The whole game of building is: pick a couple of weapons, then stack the Cores they share.
- Leverage (+damage) and Insider (+crit) help almost everything.
- Conviction (+projectile) supercharges the projectile weapons — Shiv, Liquidation, Shill Spray.
- Wide Load (+area) blows up the AoE weapons — Holder Aura, Rug Bomb, Rug Slasher.
- Overclock (−cooldown) makes everything fire faster.
Two builds that work
Crit Pinball — Shiv + Liquidation + Insider + Conviction + Leverage. Stack crit and projectiles. Shiv shreds anything close; evolve Liquidation into Cascade and your lightning pinballs across the whole swarm. Fast, mobile, deletes packs.
Giant AoE — Holder Aura + Rug Bomb + Rug Slasher + Wide Load + Leverage. Stack area. Evolve Holder Aura into Event Horizon (a black hole that gathers the horde, then collapses it) and Rug Bomb into Nuke (one telegraphed mega-blast). You become a zone of death — stand in the crowd and let it pop.
These are starting points, not rails. The fun is finding your own.
Evolutions are the power spike
At weapon level 6, evolving isn't a number bump — it changes how the weapon plays:
- Shiv → Thousand Cuts — a relentless omnidirectional blade-storm. Hug the crowd.
- Holder Aura → Event Horizon — a singularity that pulls the horde in, then collapses for a heavy detonation. Place it ahead of you, into the danger.
- Liquidation → Cascade — lightning that pinballs enemy-to-enemy across the swarm.
- Rug Bomb → Nuke — one big telegraphed mega-blast. Lead the target.
- Bag Orbit → Whale Hoard — coins orbit and fling outward (money printer).
- Shill Spray → FUD Cannon — a relentless wall of FUD that shoves the front line back.
- Rug Slasher → Rugslayer — a 360° whirlwind that clears a ring around you.
Prioritize getting one weapon to evolution over leveling four weapons evenly.
Items: the broken layer
Items come from chests (mini-chests on the map, boss drops). They're separate from Cores — proc effects that make a run broken, and they stack:
- Liquidation Charge — your crits explode in an AoE (pairs with any crit build).
- Rug Pull — instakills low-HP non-boss foes (great vs swarms).
- Insider Tip — your hits randomly zap a nearby foe (free extra chaining).
- Blood Bags / Degen Rage / Cold Storage — sustain, comeback damage, crowd control.
Reading the run
- Early (Trenches): grab a clear direction. Take the weapon you want to evolve and its scaling Cores.
- Mid (Mist): density spikes. Lean into AoE / chaining; pick up sustain items.
- Late (Inferno): everything hits like a truck. Your evolutions should be online; play the spacing, use the Boss Portal on your terms.
- Liquidator: it strips you to your two best weapons — make sure two of them are actually good. Kill it to get the rest back.
Shrines (press F) give a permanent run buff but cost HP and spawn a wave. Take them when you're strong and want to snowball — skip them when you're on the back foot.
The world: what everything on the map is
The arena isn't just enemies. The map is full of things to break, mine, and decide about. Here's what all of it is — and how to actually use it.
Stuff you break
- Crates, barrels, rug piles, coin stacks — walk into them or dash through to smash. They drop $LOOP and XP. Free value on the way to wherever you're going — clip them as you move.
- Ore / crystal nodes — break them for shards (the rarer currency that fuels evolutions and unlocks).
You don't have to detour much: weave through props while you kite the horde and you'll bank a steady stream of gold and XP.
Stuff you choose
- Shrines — step close and press F for a pact: a permanent buff for the rest of the run. But it costs HP and spawns a wave. It's a real risk/reward call — take it when you're strong and want to snowball, skip it when you're hurting.
- Mini-chests — open for an Item (a stacking proc effect — see the build guide).
- Critters — little creatures that flee; catch one for gold.
Routes & objectives
The bigger maps have reasons to explore:
- Routes — optional side-events marked on your screen (a loot trail, a timed lost chest, an ore expedition, a risk portal that triggers an elite fight). Follow the marker, complete it, get bonus chests / shards.
- Stage objective — shown top-left (e.g. "smash 10 market props"). Complete it for a chest. It gives the 10 minutes of a stage a spine — something to chase besides "don't die."
How to think about it
Early on, value-farm: smash props, mine ore, do the easy routes — it compounds into a stronger build. As a stage heats up, prioritize survival: don't chase a route into a wall of enemies you can't handle. The map rewards greed, but only when you can afford it.
Everything here is also explained in-game in the 📖 Field Guide (pause menu) — same source of truth, always up to date with the build you're playing.
Reference · auto-synced from the game
| Weapon | Scales with | Evolution |
|---|---|---|
 Shiv Shiv | Conviction · Leverage · Insider | 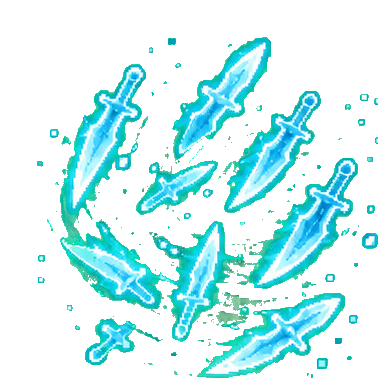 Thousand Cuts — a relentless blade-storm — hug the crowd Thousand Cuts — a relentless blade-storm — hug the crowd |
 Rug Slasher Rug Slasher | Wide Load · Leverage · Overclock | 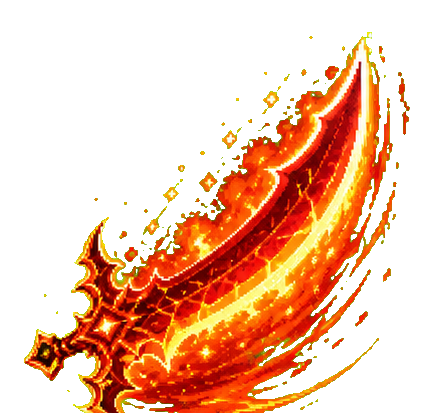 Rugslayer — 360° whirlwind that clears a ring Rugslayer — 360° whirlwind that clears a ring |
 Bag Orbit Bag Orbit | Wide Load · Leverage · Overclock |  Whale Hoard — coins orbit + fling outward (money printer) Whale Hoard — coins orbit + fling outward (money printer) |
 Shill Spray Shill Spray | Conviction · Wide Load · Overclock | 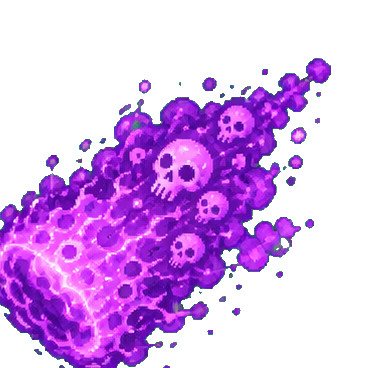 FUD Cannon — a relentless wall of FUD, shoves the front FUD Cannon — a relentless wall of FUD, shoves the front |
 Holder Aura Holder Aura | Wide Load · Leverage · Overclock | 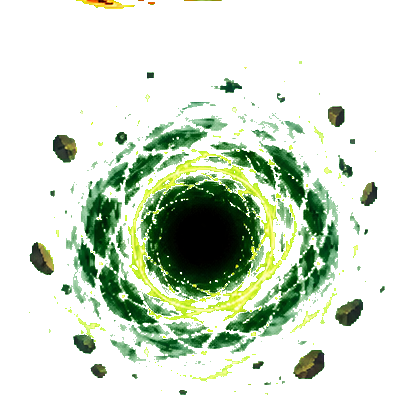 Event Horizon — black hole — pulls the horde in, then collapses Event Horizon — black hole — pulls the horde in, then collapses |
 Liquidation Liquidation | Conviction · Leverage · Insider | 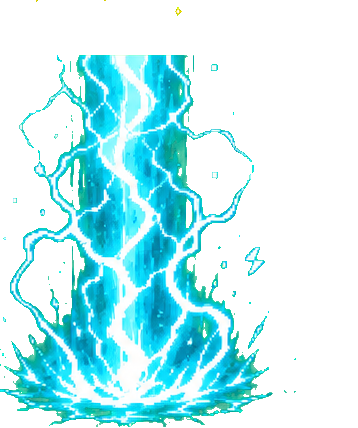 Cascade — lightning pinballs through the swarm Cascade — lightning pinballs through the swarm |
 Rug Bomb Rug Bomb | Wide Load · Leverage · Overclock | 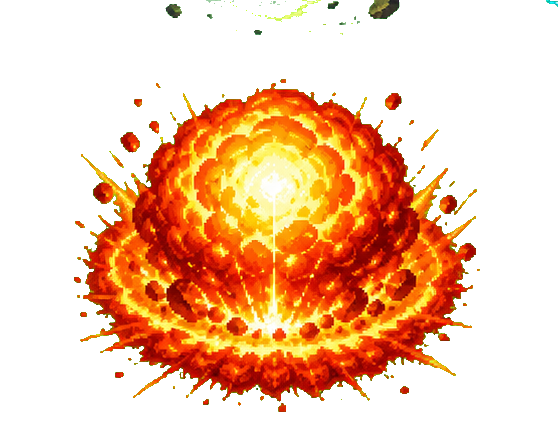 Nuke — telegraphed mega-blast — lead the target Nuke — telegraphed mega-blast — lead the target |
| Core | Effect | Max |
|---|---|---|
 Leverage Leverage | +15% damage | ×5 |
 Overclock Overclock | -9% cooldown | ×5 |
 Wide Load Wide Load | +18% area | ×5 |
 Conviction Conviction | +1 projectile | ×4 |
 Insider Insider | +7% crit chance | ×5 |
 Fast Hands Fast Hands | +10% move speed | ×5 |
 Bigger Bags Bigger Bags | +40% pickup range | ×4 |
 Diamond Hands Diamond Hands | +18 max HP | ×5 |
 Copium Copium | +0.5 HP/s regen | ×3 |
| Item | Effect | Rarity |
|---|---|---|
 Blood Bags Blood Bags | heal 3% of damage you deal | rare |
 Spiked Shell Spiked Shell | reflect damage to foes when hit | common |
 Liquidation Charge Liquidation Charge | crits explode in an AoE | epic |
 Rug Pull Rug Pull | instakill non-boss foes under 8% HP | rare |
 Whale Wallet Whale Wallet | +1 gold per kill | common |
 Insider Tip Insider Tip | 12% on hit to zap a nearby foe | rare |
 Cold Storage Cold Storage | your hits slow foes | common |
 Degen Rage Degen Rage | +15% damage while below 40% HP | rare |
| Hero | Starts with | HP | Unlock |
|---|---|---|---|
 Wif Wif | Shiv | 100 | starter |
 Unc Unc | Bag Orbit | 170 | starter |
 Troll Troll | Shill Spray | 120 | starter |
 Smolting Smolting | Shiv | 70 | Reach level 12 in a run |
 Mert Mert | Shiv | 135 | Defeat 3 bosses in a run |
 Alon Alon | Shill Spray | 110 | Reach 400 kills in a run |
The map — what to break & use



Bosses